Make a Coat Hanger: An Easy Woodworking Project for Kids
Do you need to make a coat hanger? A coat hanger is an easy woodworking project for kids and beginners to make and enjoy. We always need more places to hang coats, and my kids are happy to make these for themselves and for gifts for others.
Woodworking projects for kids are a great way to build confidence and create something unique! In our homeschool, my kids love to create. I have five sons, and they prefer creating things that can be used over other artistic mediums like painting or drawing. To see more about getting your kids started woodworking, read Teach Woodworking to Kids: 10 Easy Steps to Get Started.
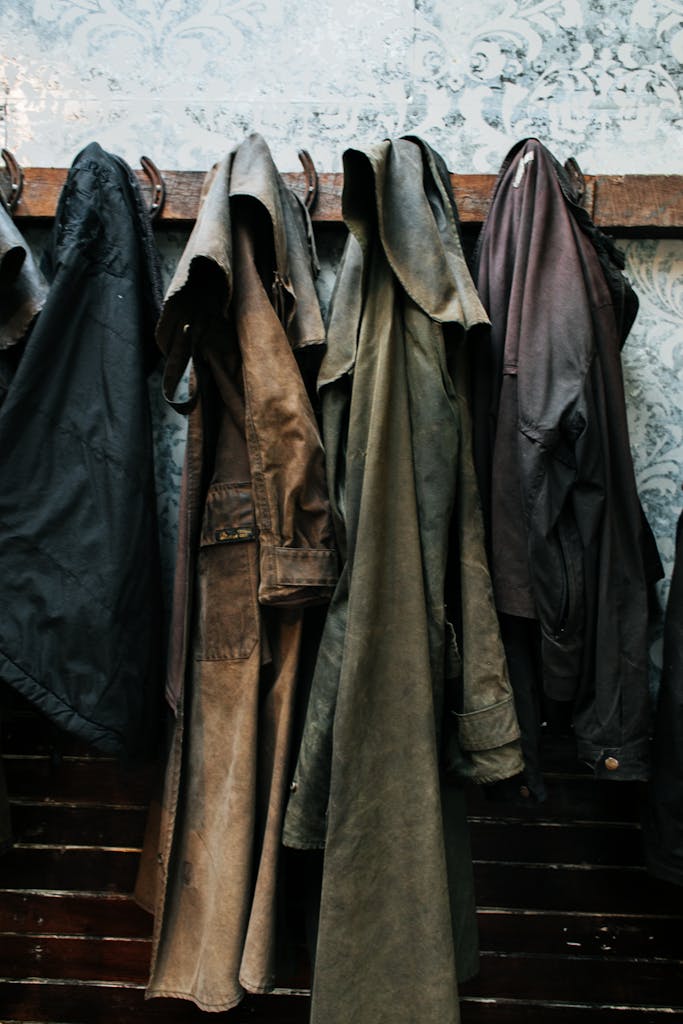
Coat hangers are easy for kids to complete with minimal adult supervision, tools or help. They would also be a great woodworking project for a group or co-op.
How to Make a Coat Hanger
Even though we try to keep things simple, there always seems to be a lack of storage in our house, especially for large clothing pieces like coats! We don’t have a coat closet in our home, so everyone keeps their coats and jackets in their rooms. To keep things tidy, the boys have made coat hangers, which are nice-looking and functional!
Coat hangers are very easy to make!
Supplies for the Coat Hanger
- 1 board, cut to appropriate size. Ours range from 24 inches to 36 inches, depending on where we are hanging it.
- Decorative hooks, knobs are pegs. This is where you can be creative. Knobs and hooks can be found at any home improvement store, Walmart, Target, Hobby Lobby or Amazon. Pick whatever you like!
- Hanging hardware, to secure to the wall.
- Sanding paper
- A drill
- Stain, paint, or clear gloss (optional)
Directions to Make a Coat Hanger
- Gather all of your materials and decide where your coat hanger will hang. It can be on a wall, in a closet or on a door.
- Measure the space where the coat hanger will be and decide on length of your board.
- Cut your board to size, and sand it smooth. Lightly sand all the edges too.
- To personalize the coat hanger, you can now paint it, stain it, or put a coat of gloss on it. You can also just leave it bare wood.
- Once it is dry, evenly space out all of the hooks, knobs or pegs you will secure to the coat hanger. Mark with a pencil.
- Pre-drill where you want your hooks to be, over your pencil marks.
- Attach your hooks (or knobs or pegs) to the board. Admire your work!
- Attach hanging hardware to the back of the board.
- Secure to the wall and hang up your coats!
Woodworking is a wonderful way to express creativity and create something functional and beautiful. Especially if you have sons (or husbands), consider woodworking as a hobby to encourage them in. My sons have created so many fun projects and learned how to use tools in an incremental way, working from simple hand tools like hammers and saws, to complex power tools like band saws and drill presses.
I really enjoyed this article from BuiltbyKids, another hobby webpage that showcases projects that kids can build and create. BuiltbyKids outlines important reasons why woodworking is a hobby your kids should try out!
Making a coat hanger is a great project to start with. They could also use the same steps to make a jewelry hanger, a tool rack, or an art or sewing organizer. There are many projects that can be made with a board and some hooks!

I would love to see your created coat hangers! Please follow my Homeschool Hobbies Facebook page and share your creations with hobby enthusiasts and homeschooling families!
For more hobby inspiration: Teach Woodworking to Kids: 10 Easy Steps to Get Started